7 Tips for Great Photos in the Dark
Shoot During Dusk
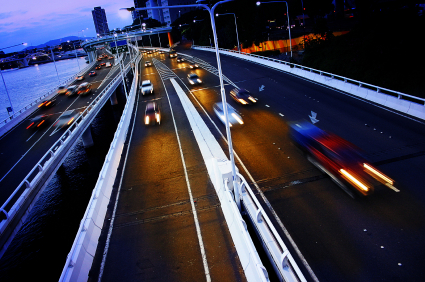
Some of the best night photos are taken during dusk; when the sky isn't completely black. Taking pictures during dusk will show more colors and details in the distance and will let you use a faster shutter speed.
Use High ISO
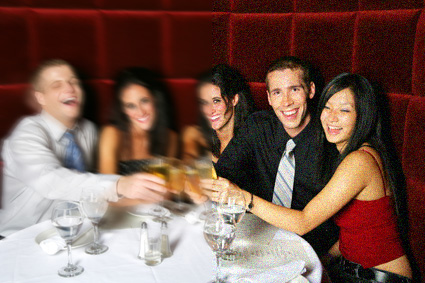
Use a high ISO if required. It is better to get recognizable photos of your friends that are grainy than blurry photos. You can reduce noise with image editing software but you can't remove blur.
Keep it Steady
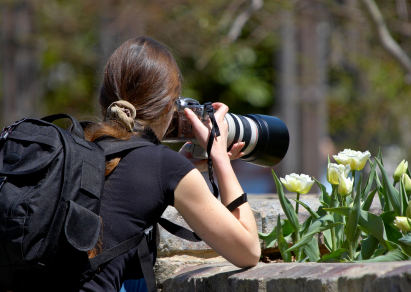
Taking photos at night requires slow shutter speed. To shoot bright pictures without the blur at night, use a tripod or monopod to keep your camera steady.
In addition to using a tripod or monopod, enable your cameras mirror lockup setting and gently press the shutter. If your camera doesn't have mirror lockup, you can use the self timer mode instead.
If you don't have a tripod or monopod with you, find some support objects to keep your body and arms stable. For example, you can lean on a wall or place your elbows on a table to keep your arms steady. If there's nothing to help keep you steady, stand with your legs far apart from each other and hold your breath while taking the picture.
Motion Blurs
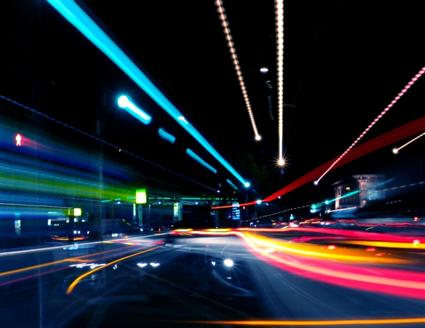
Not all blurs are bad. Some blurs such as motion blur can add interest. Try shooting photos of moving objects, or deliberatly move your camera to create a motion blur. Zooming in while the shutter is still open will also add an interesting forward-motion effect.
Freeze your Friends
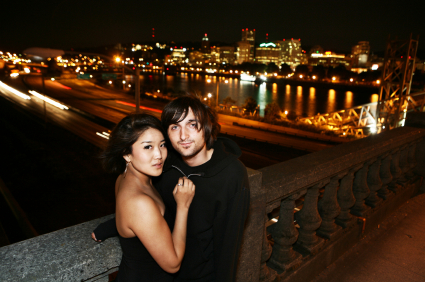
When taking photos of your friends at night, combine flash with a long exposure. The flash will freeze the foreground and the long exposure will reveal the background. Because people tend to move right after they see the flash, set the shutter curtain sync to the second curtain (Usually in the custom functions settings). This will fire a flash just before the shutter closes instead of in the beginning. Using second curtain sync will also put your friends in front of any motion blur so nothing is covering their faces. Second curtain sync is available in most new digital SLR cameras but rarely seen in point and shoot cameras.
Shoot for High Dynamic Range (HDR)
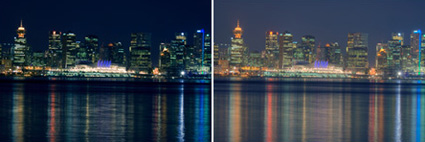
Place your camera on a tripod and shoot three exposures: one darker, one lighter, and one just in the middle. Your camera may have auto exposure bracketing to help you with this. Load the images into Photoshop and create HDR file out of the three exposures. Now you have a HDR image that you can apply tone mapping to to reveal more details. Tone mapped night photos can give results similar to shooting during twilight with more post-processing control.
Shoot Several and Stack
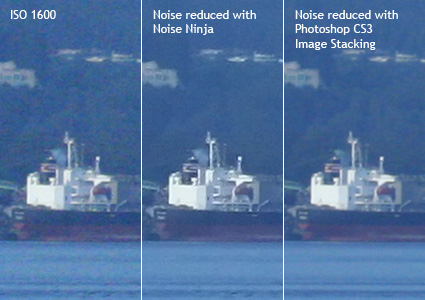
Sometimes when you shoot long exposures, noise and hot pixels will appear even at the lowest ISO setting. To overcome this problem, shoot the same photo a few times (more is better), and use Photoshop CS3 image stacking to combine the analyze the image to remove noise and hotpixels.
- Start Photoshop CS3.
- Open the File> Scripts menu and choose Load files into Stack
- Click the Browse button and load all the images.
- Checkmark the "Create Smart Oject after Loading Layers" and click OK.
- Open the Layers> Smart Objects> Stack Mode menu and choose Median.
technorati tags:photography, night, dark, highISO, ISO


No comments:
Post a Comment